On 29 Jun, 2015 With
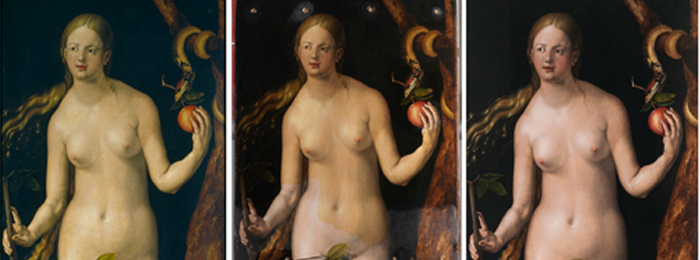
The Restoration of Adam and Eve by Dürer Documentation exists on the restorations undertaken on the paintings since the 18th century when they were in the Spanish royal collection. Having entered the Prado in 1827, they were restored in the mid-19th century and it is recorded that further work was undertaken on the Adam in the 20th century, when a cradle was attached to the back. The accumulation of these interventions ultimately resulted in a harsh, flat image that lacked the original enamelled effect achieved by the artist. Thick layers of dirt, oxidised varnishes and areas of repainting that had darkened over time covered the paint surfaces, concealing Dürer’s brushstrokes and original colouring. These old restorations also affected the panels…
Read More
On 13 Apr, 2015 With
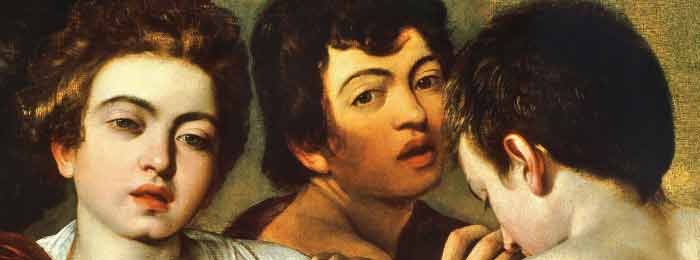
Venetian Painting Technique The Venetian painting technique was developed from many prior classical painting techniques, and is in effect a culmination of the methods that came before it. The approach to Venetian painting outlined below is a modified version that builds on the Renaissance method, incorporating modern chemicals and a contemporary palette. Venetian painting methods rose to prominence in the 17th century, and were used by painters like Titian, Caravaggio, and Velazquez. The most widespread use of these techniques was witnessed during the Baroque period, and they are ideal for still life painting, portraiture, and compositions that use strong, single-source lighting. The Technique– 1. The first step to creating this type of painting is a basic underdrawing which records the…
Read More
On 26 May, 2013 With
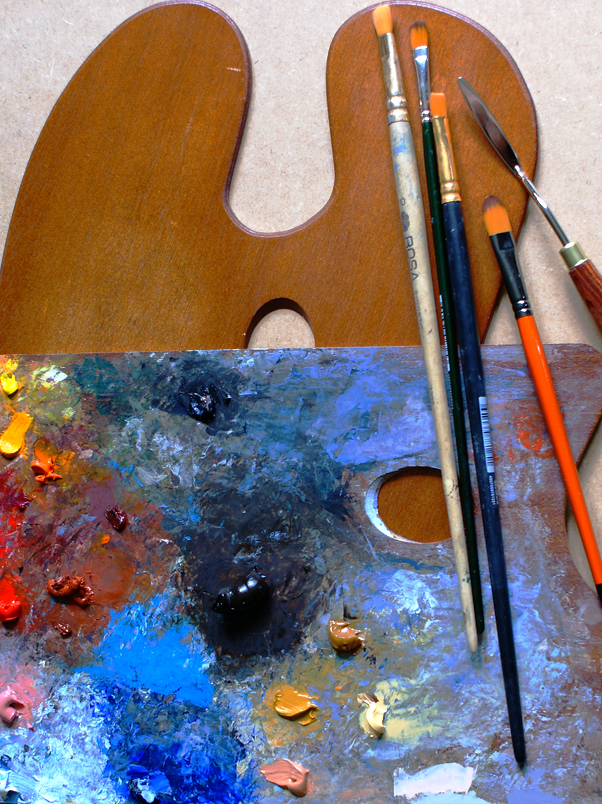
Oil painting lessons and techniques: PALETTES Cleanliness —The cleanliness of a palette consists in its being always in such a condition that you can handle it without getting dirty; that the mixing-surface will not foul the freshly mixed paint; and that the paint around the edge is always so that you can pick up a fresh, clean brushful. If you try to clean off all your color every day and polish your palette nicely, you will not only take up more time with your palette than you do with your painting, but the fact that some left-over paint may be wasted will make you a little stingy in putting on fresh paint, which is one of the worst habits…
Read More
On 25 Aug, 2012 With
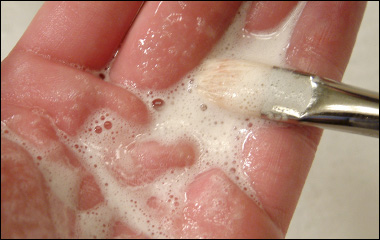
Oil painting essential materials and techniques: Care of Brushes Care of Brushes.—The best of economy in brushes lies in your care of them. You should never let the paint dry on them nor go too long without careful washing. It is not necessary to wash them every day with soap and water, but they would be the better for such treatment. Quite often, once a week, say, you should wash your brushes carefully with soap and water. You may use warm water, but don’t have it hot, as that may melt the glue which holds the bristles together in the ferrule. Use strong soap with plenty of lye in it—common bar soap, or better, the old-fashioned soft soap. Hold several…
Read More
On 22 Aug, 2012 With
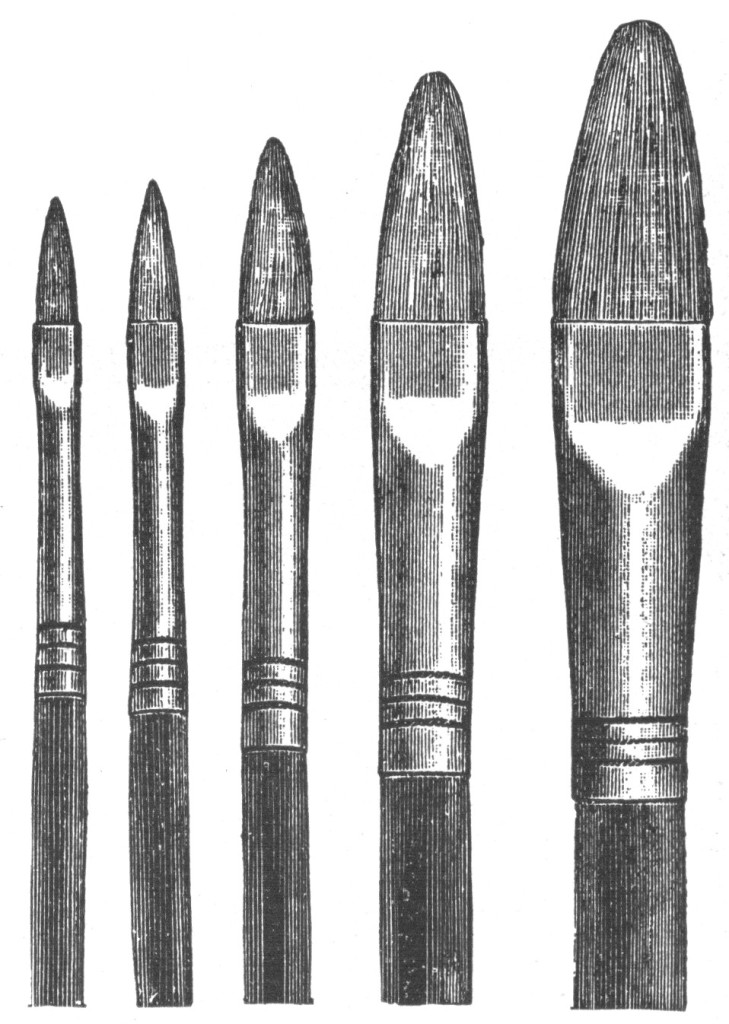
Oil painting essential materials: Selection of BRUSHES Selection.—Never buy a brush without testing its evenness, as has been advised in the care of sables. Feel carefully the end of the bristles also, and see that the “flag” is there. All brushes are kept together for packing by paste in the bristles. See that this is soaked off before you test your brush. Round or Flat.—It will make little difference whether you use round or flat brushes. The flat brush is most commonly preferred now, and most brushes are made that way. So you had better get that kind, unless you have some special reason for preferring the round ones. Handles.—Whether the handles are nicely polished, also, is of no importance….
Read More
On 17 Aug, 2012 With
Oil painting essential materials: BRUSHES An old brush that has been properly cared for is generally better than a new one. It seems to have accommodated itself to your way of painting, and falls in with your peculiarities. It is astonishing how attached you get to your favorite brushes, and how loath you are to finally give them up. What if you have no others to take their places? Don’t look upon your brushes as something to get as few of as possible, and which you would not get at all if you could help it. There is nothing which comes nearer to yourself than the brush which carries out your idea in paint. You should be always on the…
Read More
On 15 Aug, 2012 With
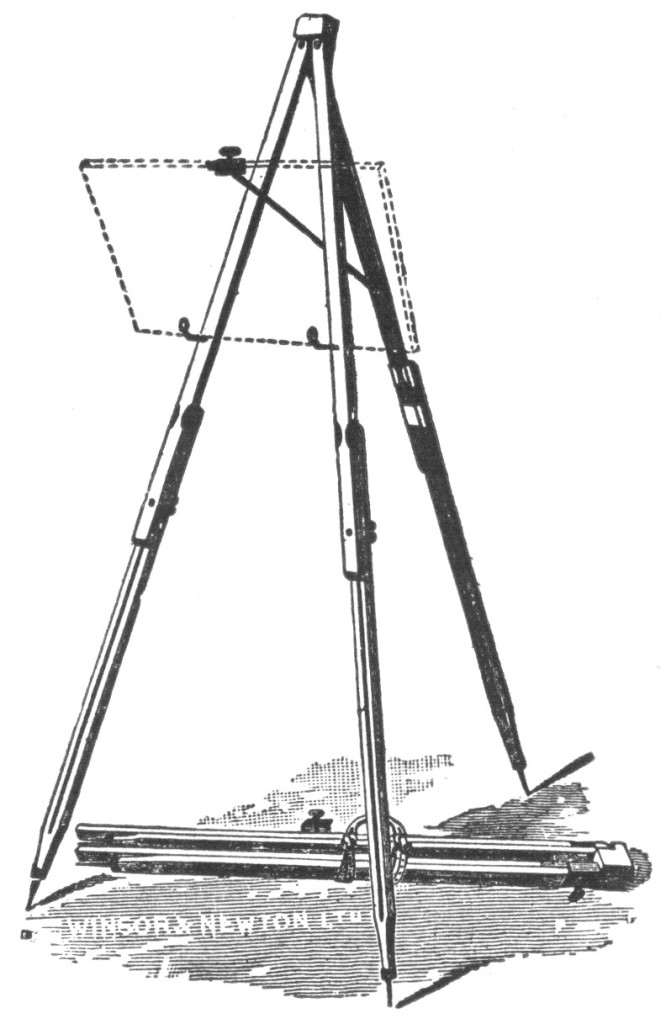
Oil painting essential materials: EASELS The important thing in an easel is that it should be steady and firm; that it should hold the canvas without trembling, and so that it will not fall as you paint out towards the edges. You often paint with a heavy hand, and you must not have to hold on to your picture with one hand and paint with the other. Nothing is more annoying than a poor easel, and nothing will give you more solid satisfaction, than the result of a little generosity in paying for a good one. The ideal thing for the studio is, of course, the great “screw easel,” which is heavy, safe, convenient, and expensive. We would like to…
Read More
On 12 Aug, 2012 With
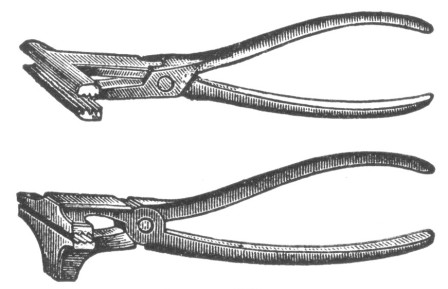
Oil painting materials: Stretchers Stretchers.—The keyed stretcher, with wedges to force the corners open and so tighten the canvas when necessary, is the only proper one to use. For convenience of use many kinds have been invented, but you will find the one here illustrated the best for general purposes. The sides may be used for ends, and vice versa. If you arrange your sizes well, you will have the sides of one size the right length for the ends of another. Then you need fewer sizes, and they are surer to pack evenly. Stretching.—You will often have to stretch your own canvases, so you should know how to do it. There is only one way to make the canvas lay smoothly…
Read More
On 7 Aug, 2012 With
Oil painting materials: CANVASES and STRETCHERS Grain.—The question of grain is not easy to speak about without the canvas, yet it is often a matter of importance. There are many kinds of surface, from the most smooth to the most rugged. Some grain it is well the canvas should have; too great smoothness will tend to make the painting “slick,” which is not a pleasant quality. A grain gives the canvas a “tooth,” and takes the paint better. Just what grain is best depends on the work. If you are going to have very fine detail in the picture use a smoothish canvas; but whenever you are going to paint heavily, roughly, or loosely, the rough canvas takes the paint…
Read More
On 31 Jul, 2012 With
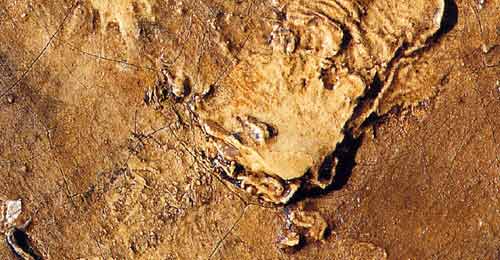
Acrylic painting techniques How to Make a Painting Look Old 1. Allow the painting to dry if just completed. Apply clear acrylic to the painting to act as a base for the crackle paint application that will give your painting some age. The clear acrylic should be applied evenly to the surface of the painting following the original brush strokes. Allow the clear acrylic to dry before moving forward. 2. Prepare the crackle paint by adding the colors to it that closely match the areas you are trying to age prematurely. Not using color will result in the crackle paint turning white. Use colors that match the painting so that when it dries, it will look as though the paint is aged. Use…
Read More