The Painting Techniques of the Venetian School Masters
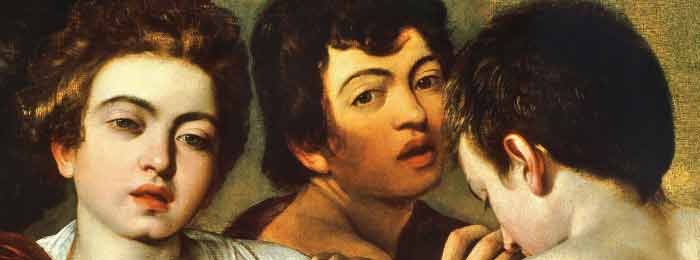
Venetian Painting Technique

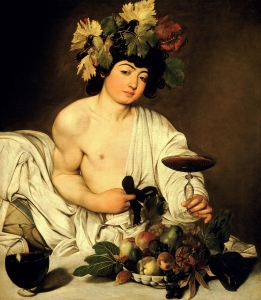
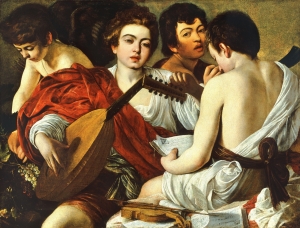
The Venetian painting technique was developed from many prior classical painting techniques, and is in effect a culmination of the methods that came before it. The approach to Venetian painting outlined below is a modified version that builds on the Renaissance method, incorporating modern chemicals and a contemporary palette. Venetian painting methods rose to prominence in the 17th century, and were used by painters like Titian, Caravaggio, and Velazquez.
The most widespread use of these techniques was witnessed during the Baroque period, and they are ideal for still life painting, portraiture, and compositions that use strong, single-source lighting.
The Technique–
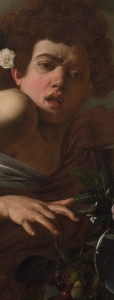
1. The first step to creating this type of painting is a basic underdrawing which records the major features of your composition. While you can add detail and shading to key areas, the majority of the drawing should be just contours. It’s advisable to work from a grid, as this yields the best results in terms of proper perspective and scale.
2. Once the underdrawing has been finished, set the lines of it by applying a workable fixative and retouch varnish, to protect it during the work to come.
3. The next step is to apply what is known as an “imprimatura.” Venetian Masters used this to:
Fill in the middle values of the composition
Neutralize the layers of paint applied overtop of it
Establish a suitable colour temperature for the painting (they tended to eschew bright white for creamier tones)
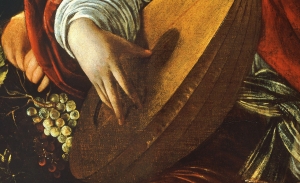
1. The first layer of rendering used in the Venetian style is a monochrome crafted in burnt umber and white, which establishes the full value range of the work and the “base” body of paint local colour will be blended into. Start with the brightest highlights and the darkest darks, then blend the mid-tones from the imprimatura into both extremes.
2. Next, add your local colour to the entire canvas, using your best approximation of the final colouring you hope to achieve (i.e., an apple will be primarily red) while still maintaining the value you put in place in the previous stage.
3. After all of the local colour has been applied, begin rendering, using several tightening layers. Due to how slowly oil paint dries, rendering can be used to blend colours extensively, allowing the painter to mix colours on the surface, experiment with blurring or sharpening focus, and work in various colour harmonies. At this stage, you may start to introduce impasto to your painting, in order to create texture, as some Venetian artists are famous for having done.

4. Finally, you may begin glazing, using thin transparent veils of colour. Envision them like thin sheets of coloured glass as you work. Glazing is used to refine and tone your painting, not to cover any rendering below it. The Venetian Masters used it to add depth, to subtly tweak colour and temperature, and to shift values towards mid-tones. This is something of an optical illusion, as it will be the viewer’s eye that mixes the resulting colour, not the paint itself.
5. Lastly, one ought apply a high-quality varnish to one’s oil painting once it has completely dried—which is a staggering six months after one finishes painting. Varnishing not only adds shine and lustre to the colours of the painting, it protects it from damage over the years to come, preserving the work under it.


This Post Has 0 Comments