THE FLEMISH TECHNIQUE – How to oil paint
Oil painting in its first form evolved from an earlier discipline known as , and was an attempt to overcome the severe limitations of that medium, such as a lacklustre finish and too-rapid drying time. Developed originally in Flanders, the method became known as the “Flemish Technique.” This method of painting requires a rigid surface on which to work, one that has been primed pure white, as well as a very precise line drawing.
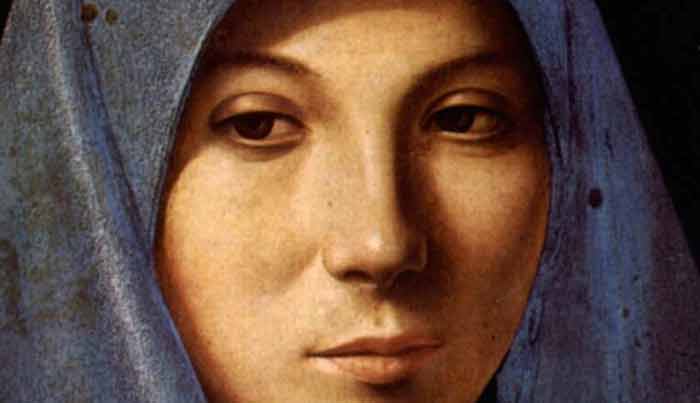
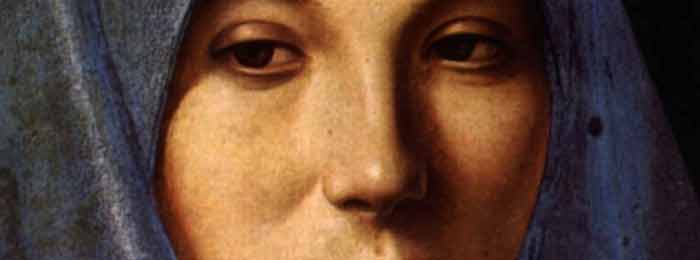
The line drawing was transferred to the white surface by perforating (tracing, in essence) the drawing along its lines. Once this transfer was complete, the resulting lines were enhanced with ink or viscous paint (using either a pen or finely pointed sable brush). The drawing was isolated after it was allowed to dry, and a layer of varnish was applied to reduce the absorbency of the white base. Transparent toner was sometimes also added to this layer of varnish; this was called an imprimatura, and the tone of it was believed to make the harmonization of later colours easier by allowing a better and more detailed judgment of their values. Without this, white primer can give the illusion that all applied to it is darker than it actually is, until the white is covered and entirely out of sight, whereupon the darks are suddenly no longer striking and the painting may seem faded as a whole. By adding an isolating varnish in a slightly warm tone (usually a bit darker than pure white), paintings could be made more vivid in the end, as the artist’s eye would not be “fooled” by the presence of pure white.
Once the imprimatura had set, transparent glazes were applied in the areas of shadow with soft hair round brushes (favoured by many Flemish painters) with tips that were rounded, pointed, or flat. Hog-bristle brushes were sometimes used for scrubbing the paint on in thin layers, or for glazing, among other effects. Transparent paint was then added to the shadows, and worked with while wet before the application of large areas of colour, which were blended in at the edges. This next bit of painting was done with mid-tone colours; sometimes transparent, sometimes opaque, or somewhere in between, according to the style of the artist. Highlights were always the final step and always opaque. Sometimes one, or several, overpaintings were applied, and certain Flemish artists also used an underpainting of egg tempera, or egg oil emulsion paint, as a base for their oil paintings.
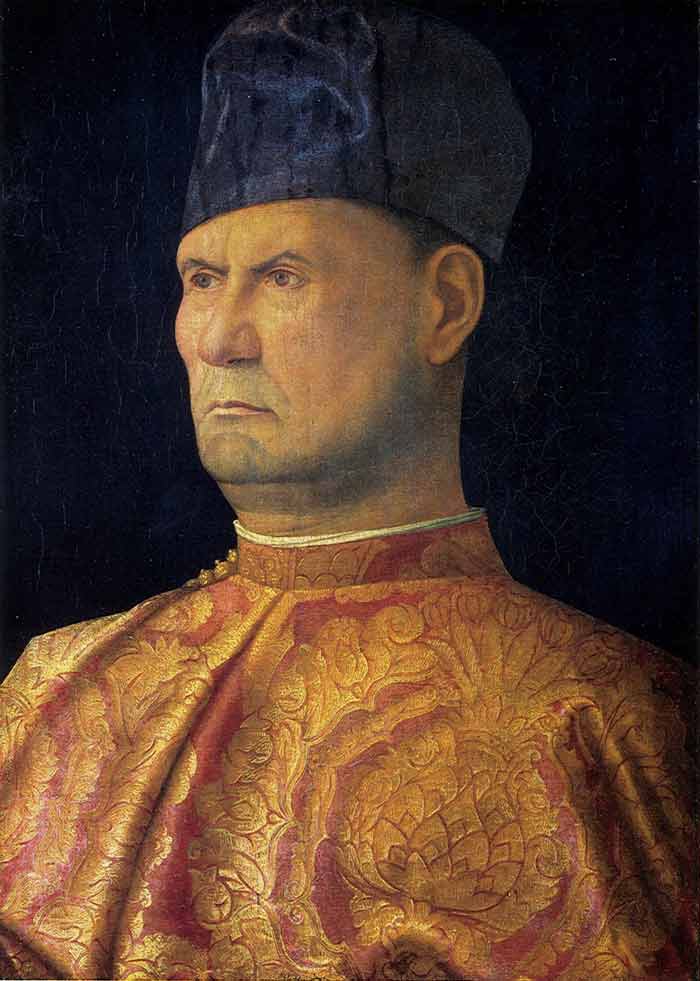
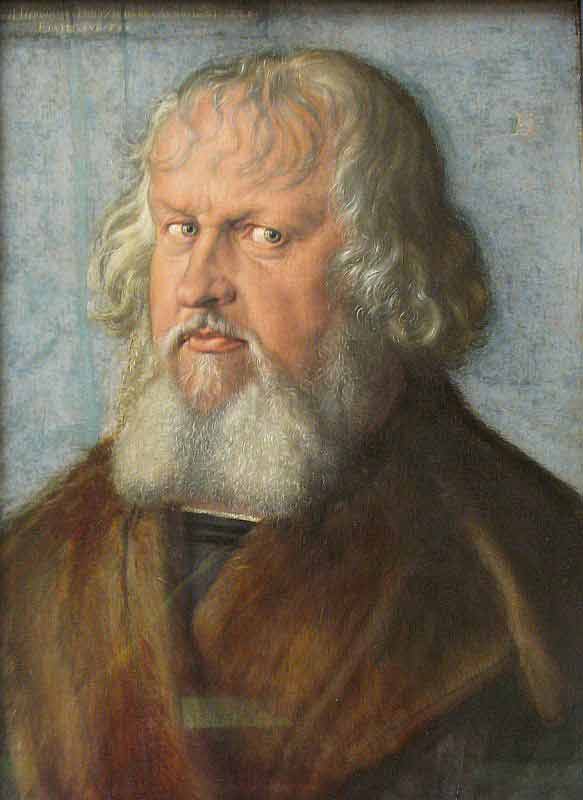
Word of the Flemish technique soon spread; it was quickly adopted by the German artist Albrecht Dürer after he travelled to the region, and by Antonello da Messina, who was thought to have studied in Flanders. Giovanni Bellini picked up the method from Antonello, and thereafter schooled Giorgione and Titian. Flemish oil painting expert Rogier van der Weyden travelled to Italy in approximately 1449 and aided a number of Italian artists, such as Piero della Francesca. The adoption of oil painting was controversial, however, and decried by some, including the famous Michelangelo, who refused to paint in oils, and is said to have ridiculed Leonardo for taking up the practice. Titian (Tiziano Vecellio), on the other hand, was an early fan of the method, and innovated greatly upon it.
the Flemish Technique is my favourite oil painting technique https://oldmasters.academy/ is an excellent resource for that